3D Printing Slicer
One of my hobbies is 3D printing, which made me curious about how slicers work. This curiosity led me to create my own slicer, initially in MATLAB and later in Python, which I used in various projects. This program was then repurposed to assist in different research projects. Benchy will be used as a showcase.
Overview
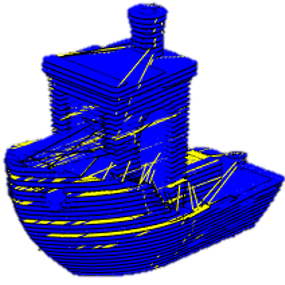
To slice the object, the faces of the triangles are sorted in their z-direction and then clipped to each layer using the Cohen-Sutherland algorithm. These clipped segments are then linked together using depth-first search to produce the machine’s path, shown in blue. The infill pattern is created by either clipping a pattern to the hull of the object or by scaling the outline of the model inward.
Rendering
One of the challenges faced during the original MATLAB implementation was rendering speed, which made operations on complex models difficult without significant lag. Switching to Qt5 and Python alleviated these issues and increased performance. While initially starting as a command line program, QT was later used to construct the GUI.
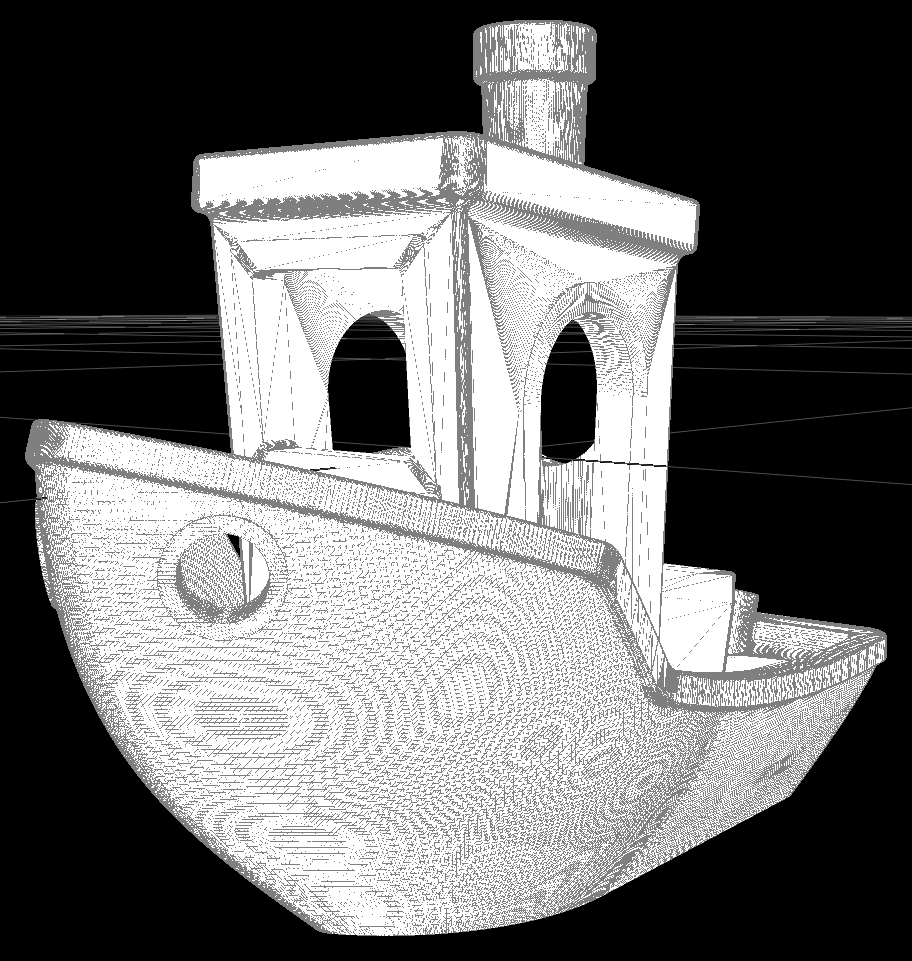
The exterior surface of the model is shown in white, with grey lines delineating the edges of the triangles. The grid intersects with the volume centroid of the object, providing a visual reference for alignment and scaling. You can download my simple stl renderer here
Optimized Supports and Height
To reduce overall print time and material usage, two different optimizations were included in my slicer. The first one adjusts layer height to match the level of detail in regions of the model. In regions with a large amount of detail, e.g. curves, the layer height is decreased. Otherwise, the layer height is increased to reduce printing time.
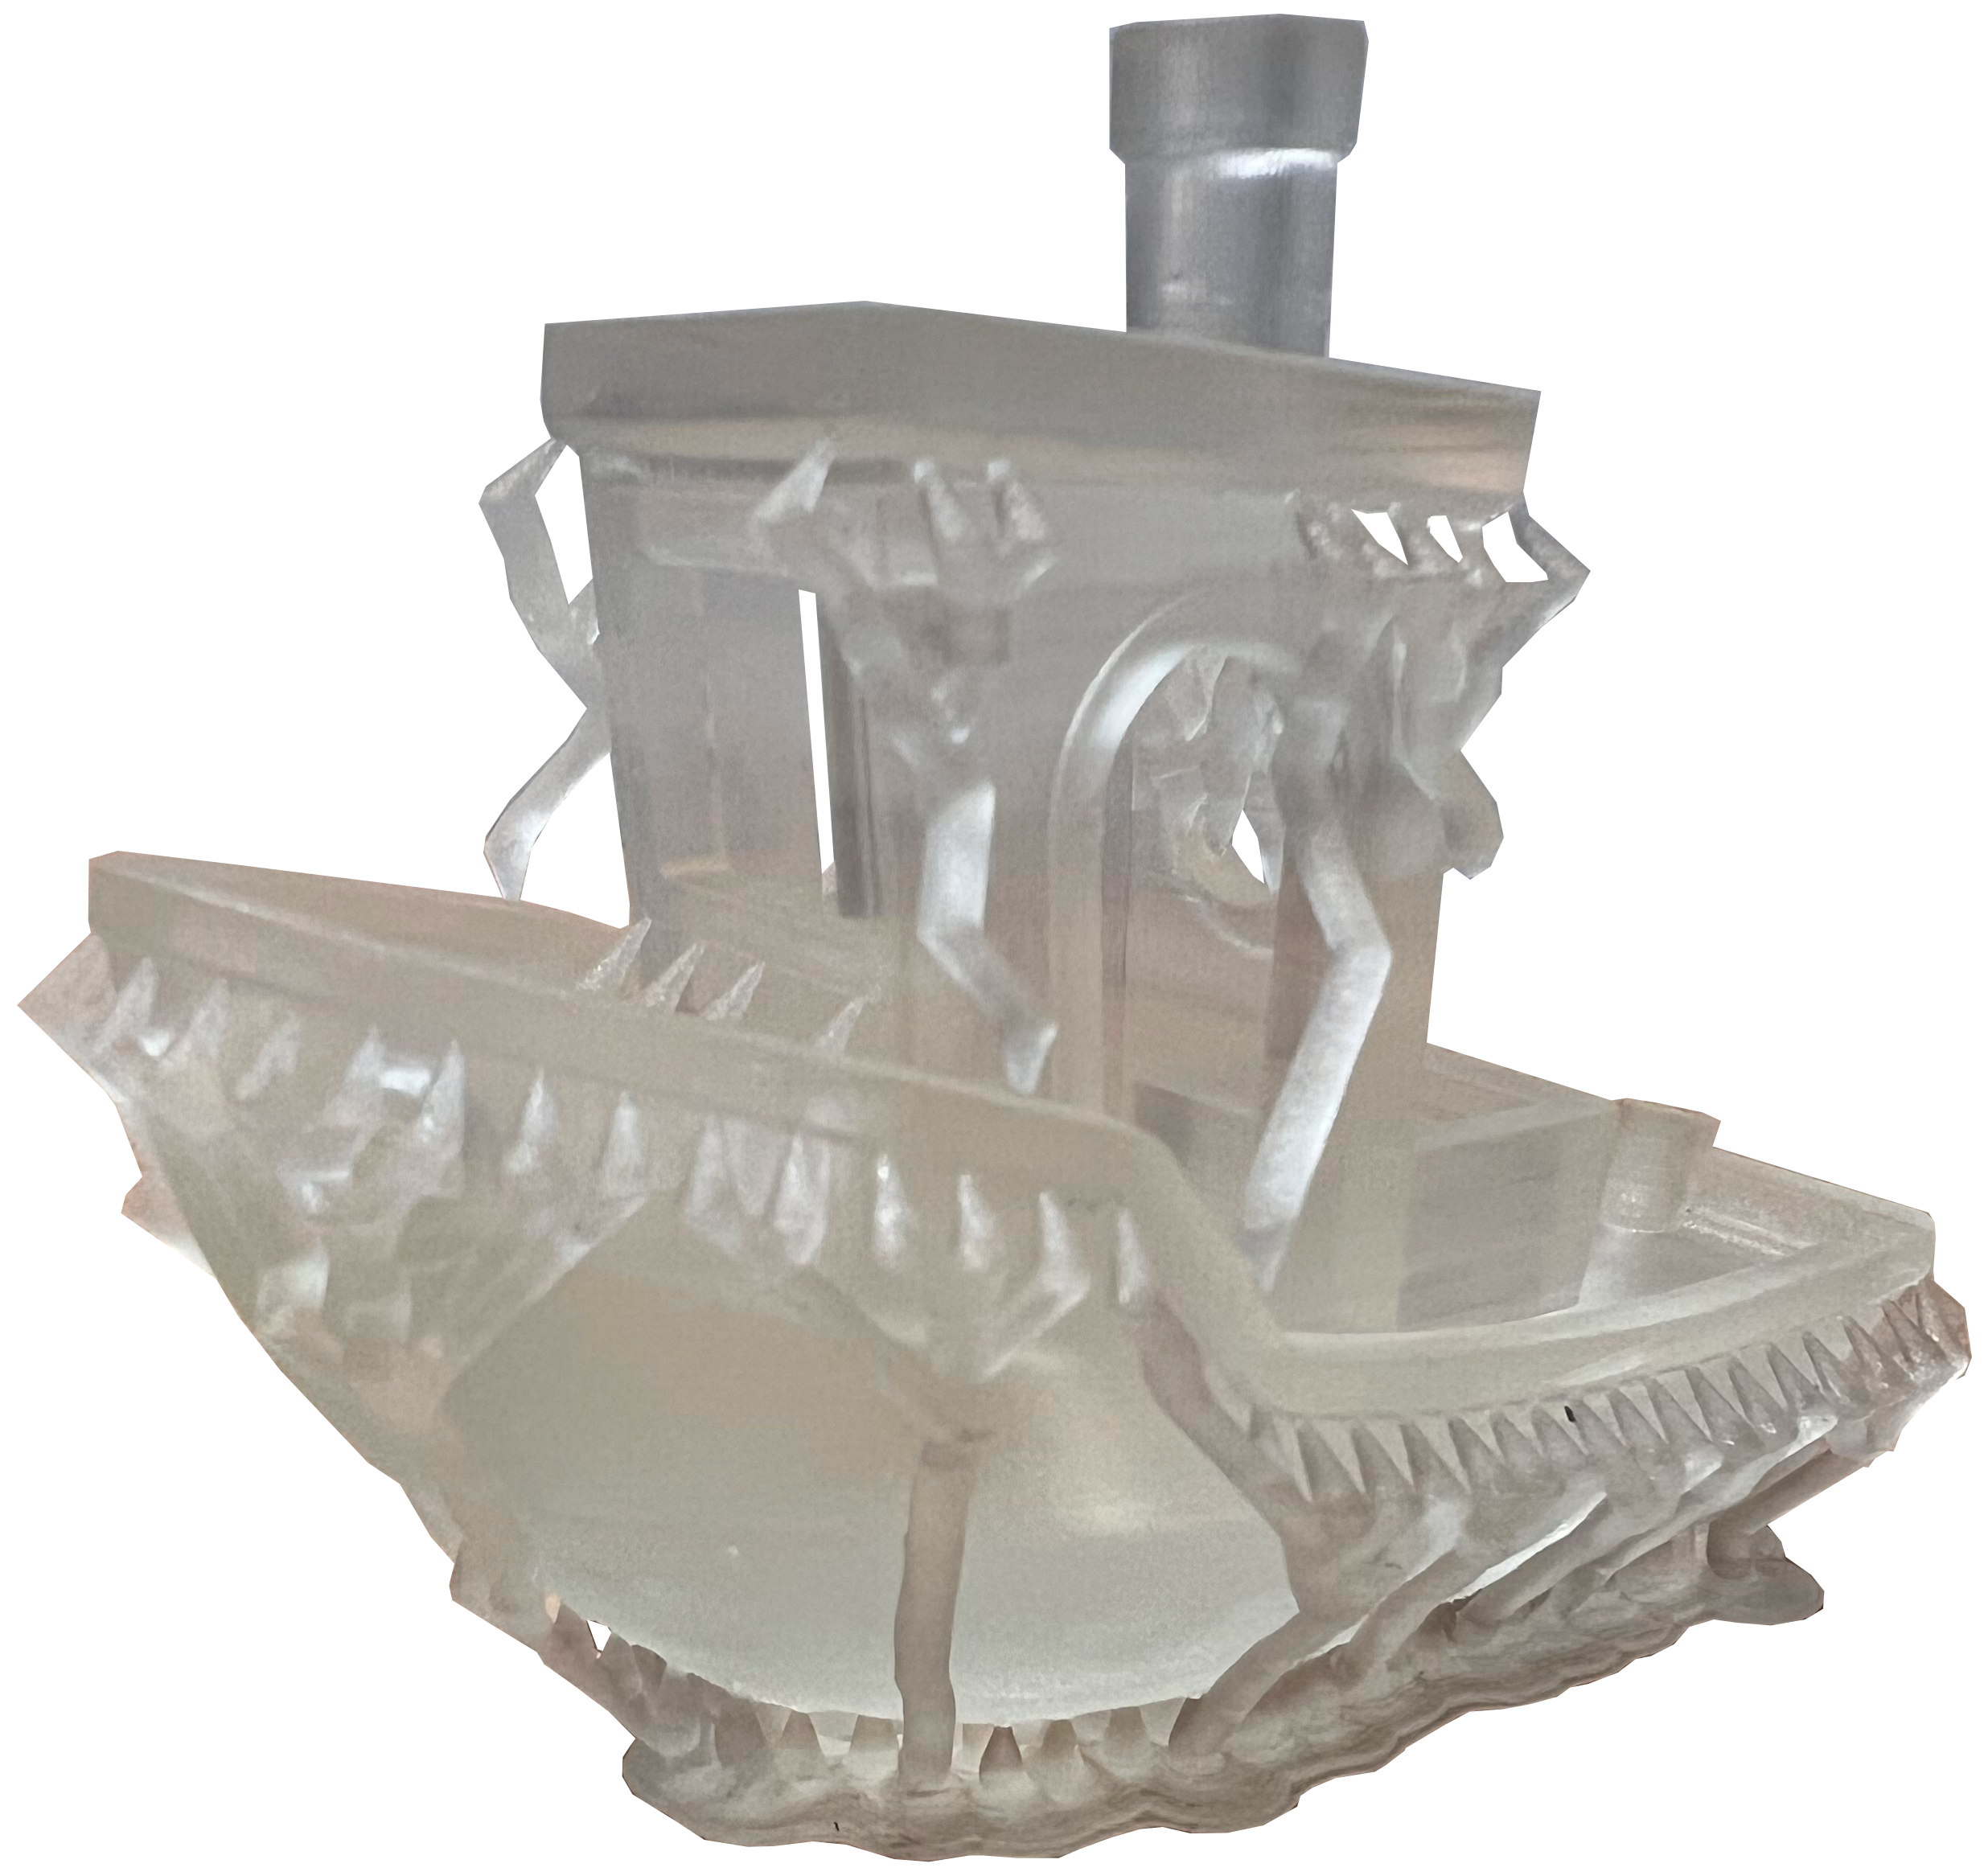
The other addition was in the use of optimized supports. To generate these structures, seed points are generated from overhangs on the part. From these points, cones are generated with their intersection points forming branches that construct the support structure. Doing so both reduces print time but also material cost. 
BAAM Optimization
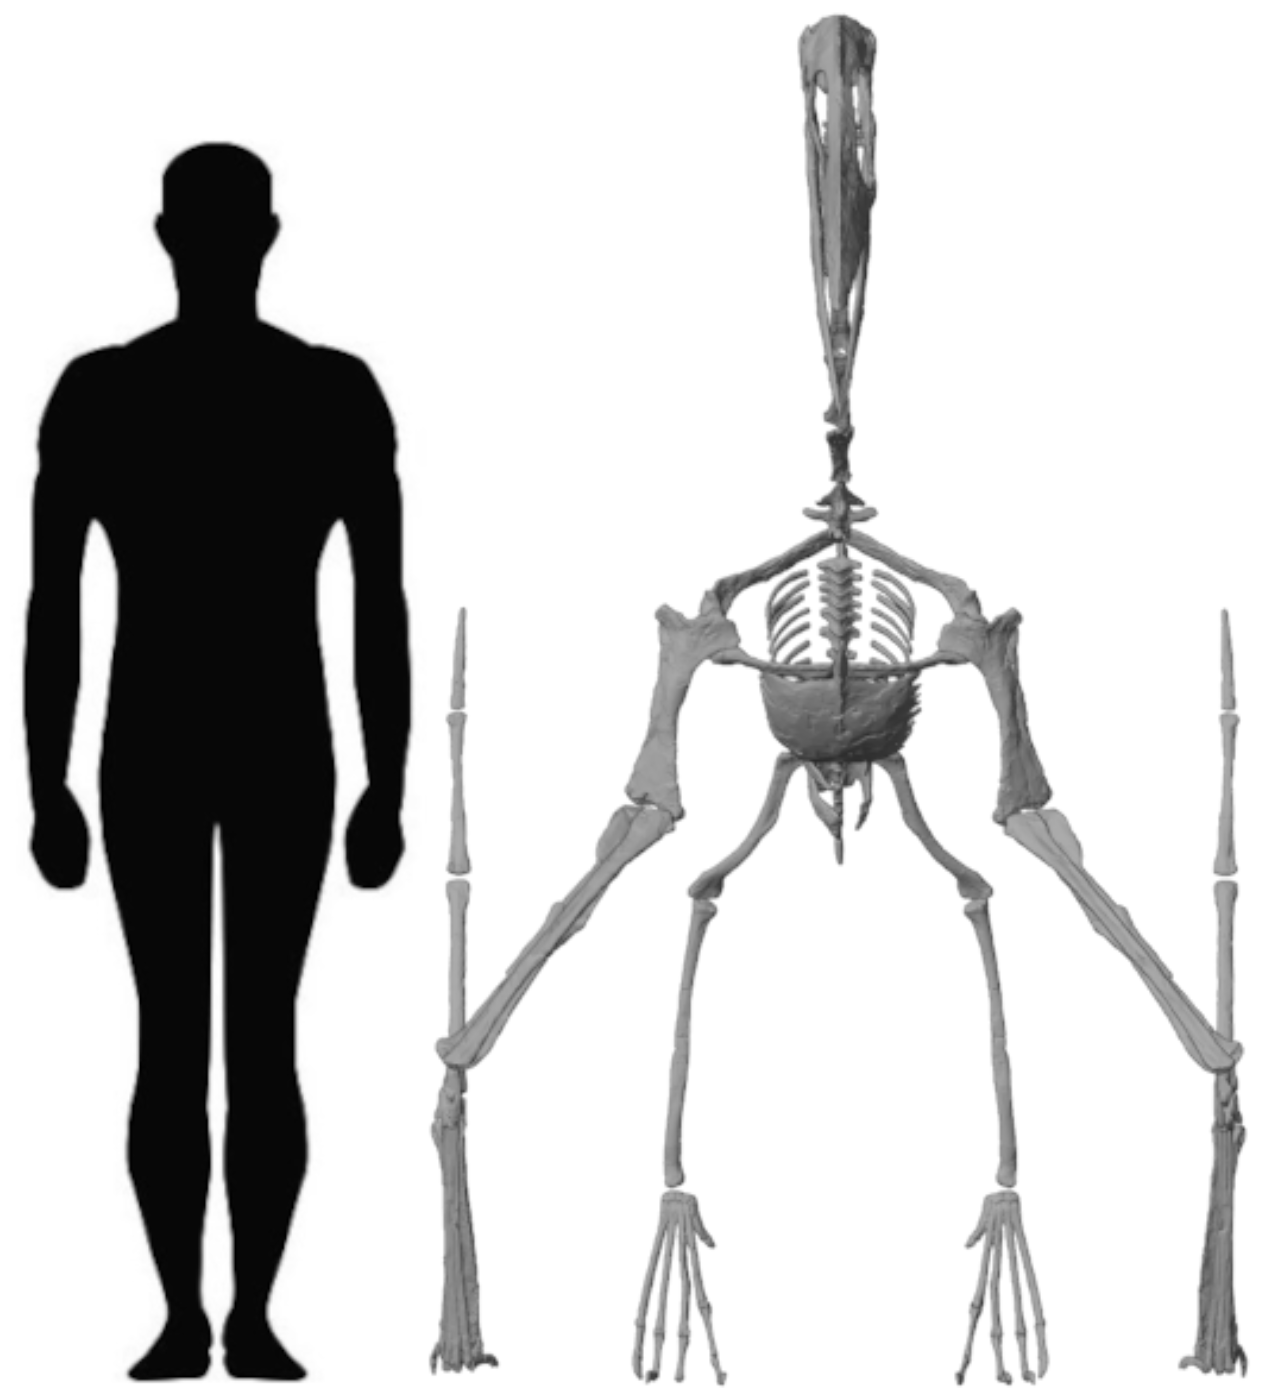
The slicing program was later used to optimize the part transformations used to construct several of my larger prints. I was largely unconcerned with print time, so these optimizations largely explored reducing the overall material used. Optimizing the replica Phosphatodraco ended up saving more than three spools compared to its original state. You can read more here


